2020/03/22追記
AndroidX仕様に書き直しました。
AndroidXでステータスバーから直接入力できるメモアプリを作る。
追記終わり。
あらまし
ポケモンGOとかIngressとか、メモリを食うゲームをプレイしてる最中にメモアプリを起動させると、ゲームがKillされてしまって不便だなと思いました。特にポケモンGOは、レイドバトルの待ち時間にアプリが落ちると一陣に入れなくなるから厳しい。
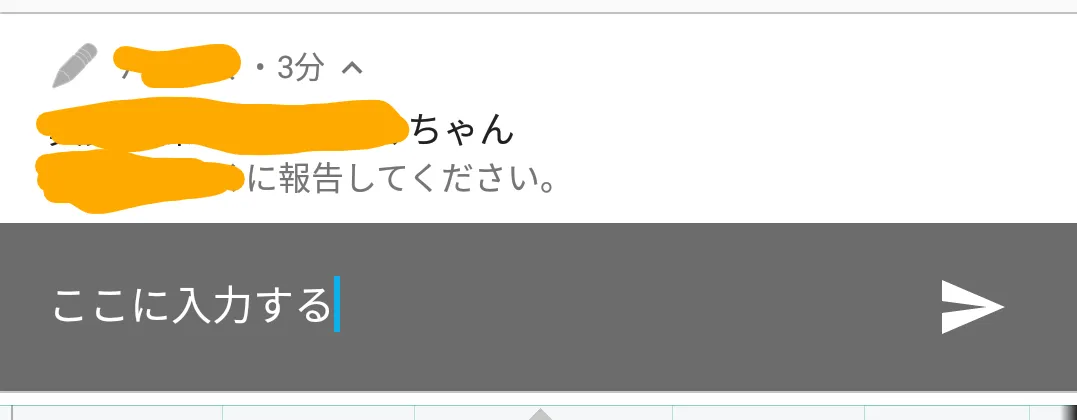
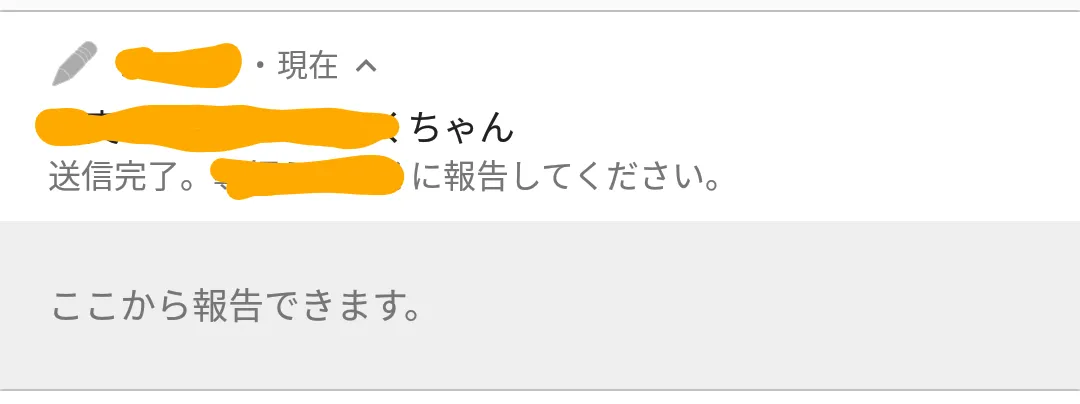
Android 7.0以降はステータスバーからテキストを入力して返信できるので(Direct Replyという機能らしい)、ステータスバーに通知を常駐させてDirect Replyで返信すれば、少なくともプレイ中のゲームはKillされなさそうです。


画像とコードが多いので残りは続きに書きました。
失敗した方法
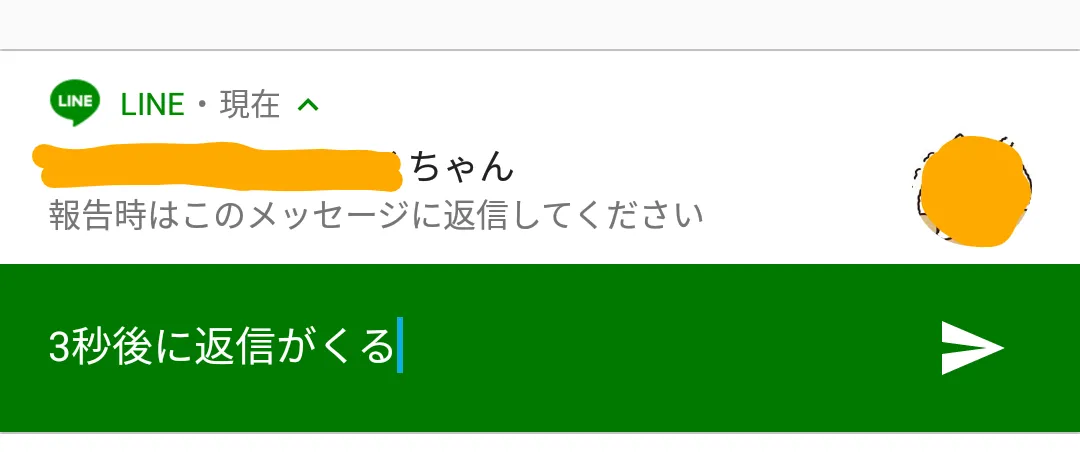
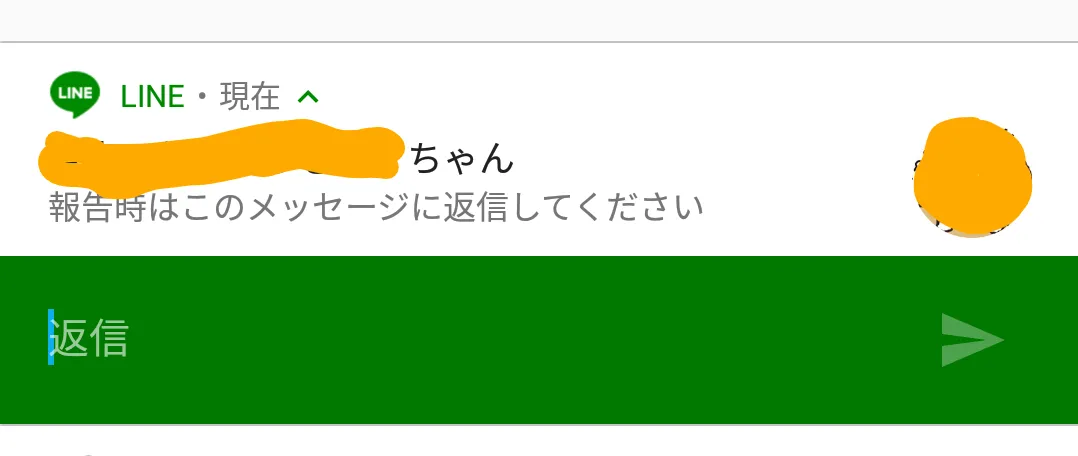
自分が投稿した3秒後に自動で返信するLINE Botを作成して、常にステータスバーにLINEが存在する状況を作りました。確かにステータスバーから常にテキストが送信できるようになったのですが、常時ステータスバーにLINEのアイコンがいるせいで、bot以外から来る通知を見逃すようになりました。LINEの通知は見落とすと結構辛いのでこの方法は使えなさそうです。


今回実施した方法
Direct Replyでテキストを入力・送信するためだけのアプリを作って、メモ用のAPIやSNSのAPIを経由してテキストを投稿できるようにしました。
使用したライブラリ
- Android API Level 25
- OkHttp 3.10
使用してる端末が未だにOreoを配信しないのでNougat向けです。つらい。下位機種はだいたいOreo配信済みなのに…。ていうかもうQのBeta出てるのに…。
実装
HTTP通信する場合、メインスレッド以外から通信しないといけないので、以下の構成で実装しました。正しいかどうかはわからない。俺たちは雰囲気でコードを書いている。
- MainActivity
- Foreground Serviceの起動用にのみ使用するアクティビティ
- NotificationService(Foreground Serviceとして起動)
- ステータスバーに通知を常駐させるためのサービス
- HTTPService(IntentService)
- NotificationServiceから呼び出されて、HTTP通信するためのサービス
- 通信完了後にNotificationServiceを再度startする
サービス同士でメッセージをやり取りする際に、IntentにputExtraでStringを詰めています。
Androidは自信がないので、自分の期待する動作になることと、極端にメモリ食いつぶさないことを目標にして実装します。
実装したコード
MainActivity
起動初回のみstartServiceするためだけのアクティビティなので、特になにもしていないです。
import android.content.Intent;
import android.support.v7.app.AppCompatActivity;

import android.os.Bundle;

public class MainActivity extends AppCompatActivity {

    @Override
    protected void onCreate(Bundle savedInstanceState) {
        super.onCreate(savedInstanceState);
        setContentView(R.layout.activity_main);
        Intent i = new Intent(this, NotificationService.class);
        i.putExtra(ConstStr.KEY_EXTRA_STRING.getValue(), "");
        startService(i);
    }

}
NotificationService
公式チュートリアルのコードをほぼ写経したら動きました。Oreoからは通知チャンネルの設定が必要だそうなので、自端末にOreoが降ってきたら書き換えます。
以下参考にしたドキュメント・記事です。
- Create a Notification | Android Developers
- Foreground Serviceの基本 - Qiita
- Android Serviceについてのメモ - Kensuke Kousaka’s Blog
- AndroidのServiceについて - adsaria mood
startServiceは何回呼び出してもonStartCommandから処理が始まるため、HTTPでAPIと通信が終了したあとはこのサービスを再起動することにしました。
import android.app.Service;
import android.app.Notification;
import android.app.PendingIntent;
import android.content.Intent;
import android.os.IBinder;
import android.support.annotation.Nullable;
import android.support.v4.app.RemoteInput;
import android.support.v7.app.NotificationCompat;
import android.util.Log;

public class NotificationService extends Service {

    private static final String TAG = "NotificationService";
    private static final int NOTIFICATION_ID = 1;

    @Nullable
    @Override
    public IBinder onBind(Intent intent) {
        return null;
    }

    @Override
    public int onStartCommand(Intent intent, int flags, int startId) {

        Log.d(TAG, "onStartCommand");

        final String replyLabel = "ここに入力してください。";
        RemoteInput remoteInput = new RemoteInput.Builder(ConstStr.KEY_TEXT_REPLY.getValue())
                .setLabel(replyLabel)
                .build();

        Intent i = new Intent(this, HTTPService.class);
        PendingIntent replyPendingIntent = PendingIntent.getService(this, 0, i, PendingIntent.FLAG_UPDATE_CURRENT);

        NotificationCompat.Action action = new NotificationCompat.Action.Builder(android.R.drawable.ic_menu_edit,
                replyLabel, replyPendingIntent).addRemoteInput(remoteInput).build();

        Notification newMessageNotification =
                new NotificationCompat.Builder(this)
                        .setSmallIcon(android.R.drawable.ic_menu_edit)
                        .setContentTitle("通知の名前")
                        .setContentText(intent.getStringExtra(ConstStr.KEY_EXTRA_STRING.getValue()) + "通知の内容です。")
                        .setPriority(Notification.PRIORITY_HIGH)
                        .addAction(action).build();

        startForeground(NOTIFICATION_ID, newMessageNotification); // Foreground Service開始

        return START_STICKY;
    }

}Intentのインスタンスを作るときのContextはthisを渡しています。最初どの範囲のContextを渡せばいいのかわからなさすぎてIntentのソースを読んだのですが、必要なのはContextそのものではなく、Contextが持っているパッケージ名の情報のみだったため、thisを渡しました。NotificationもApplicationContextじゃなくても良くね?と思ったのでthisを渡しました。Context難しい。怖い。
HTTPService
OkHttpでAPIと通信したあと、APIから返ってきたレスポンスをputExtraでIntentに詰めてForeground Serviceに返すようにしました。ここには書いていませんが、Direct Replyで入力された内容によってレスポンスを変えるとかもできるようになります。
明示的にサービスを終了する必要があるのかと思っていたのですが、キューに残りの処理がない場合勝手にonDestroyされるんですね。便利だ…。
IntentService - 非同期、自動終了、キュー・・・便利なサービスの実装 - Android 開発入門
OkHttp3のクライアントはシングルトンにすべきとのことなので、enumでシングルトンにしています。
import android.app.IntentService;
import android.content.Intent;
import android.os.Bundle;
import android.support.v4.app.RemoteInput;
import android.util.Log;

import okhttp3.FormBody;
import okhttp3.Request;
import okhttp3.Response;

import java.io.IOException;

public class HTTPService extends IntentService {

    private static final String TAG = "HTTPService";
    private static final String API_URL = "https://example.com/your_awesome_api";

    HTTPService() {
        super(TAG);
    }

    @Override
    protected void onHandleIntent(Intent intent) {
        Log.d(TAG, "onHandleIntent");

        CharSequence messageText = getMessageText(intent);
        String extraMessage = "";

        if (messageText != null) {

            final String message = messageText.toString();
            Log.d(TAG, message);

            final FormBody.Builder formBodyBuilder = new FormBody.Builder();
            formBodyBuilder.add("message", message).add("key", "API_KEY");

            final Request request = new Request.Builder()
                    .url(API_URL)
                    .post(formBodyBuilder.build())
                    .build();
            try (Response response = OkHttp3Singleton.INSTANCE.getOkHttpClient().newCall(request).execute()) {
                if (response.isSuccessful()) {
                    extraMessage = response.body().string(); // レスポンスをIntentに詰めて別Serviceに渡す
                } else {
                    extraMessage = "エラー:" + Integer.toString(response.code()) + " が発生しました。";
                }
            } catch (IOException e) {
                extraMessage = "送信失敗。";
            }

        } else {
            Log.d(TAG, "No message.");
        }
        Intent i = new Intent(this, NotificationService.class);
        i.putExtra(ConstStr.KEY_EXTRA_STRING.getValue(), extraMessage);
        startService(i);
    }

    private CharSequence getMessageText(Intent intent) {
        Bundle remoteInput = RemoteInput.getResultsFromIntent(intent);
        if (remoteInput != null) {
            return remoteInput.getCharSequence(ConstStr.KEY_TEXT_REPLY.getValue());
        }
        return null;
    }

}
感想
めちゃくちゃ便利なので作ってよかったです。旦那さんのAndroid 8.0端末でも問題なく動いてるので、自端末がOreoになった暁にはChannelで書き換えたいです。
メモリの消費量ですが、3日連続で動かして平均メモリ使用量が20MBなので、許容範囲かなと思います。